Getting Started with Graderworks
by: Anthony Garland
Follow @AnthonyPGarland
(This tutorial is for version 2.XX of Graderworks. Future versions of Graderworks are slightly different. )
If you are new to Graderworks, this guide is meant to help you get started with downloading, installing, and running Graderworks.
Download and Installation
- Go to the download page and select the version of Graderworks that is correct for you. Click the download button.
- Make sure you download the version that is compatible with your version year of SOLIDWORKS.
- Graderworks requires Windows 7 or higher.
- It is recommended that your computer is relatively fast since opening 1000s of files systematically will take a significant amount of computer resources.
- Browse to your downloads folder and click on the Graderworks installer .exe. The installer guides you through installing Graderworks.
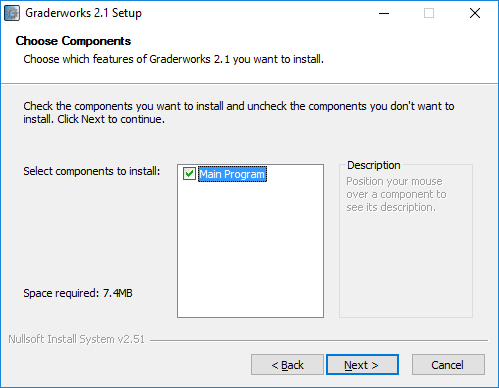
Starting Graderworks
-
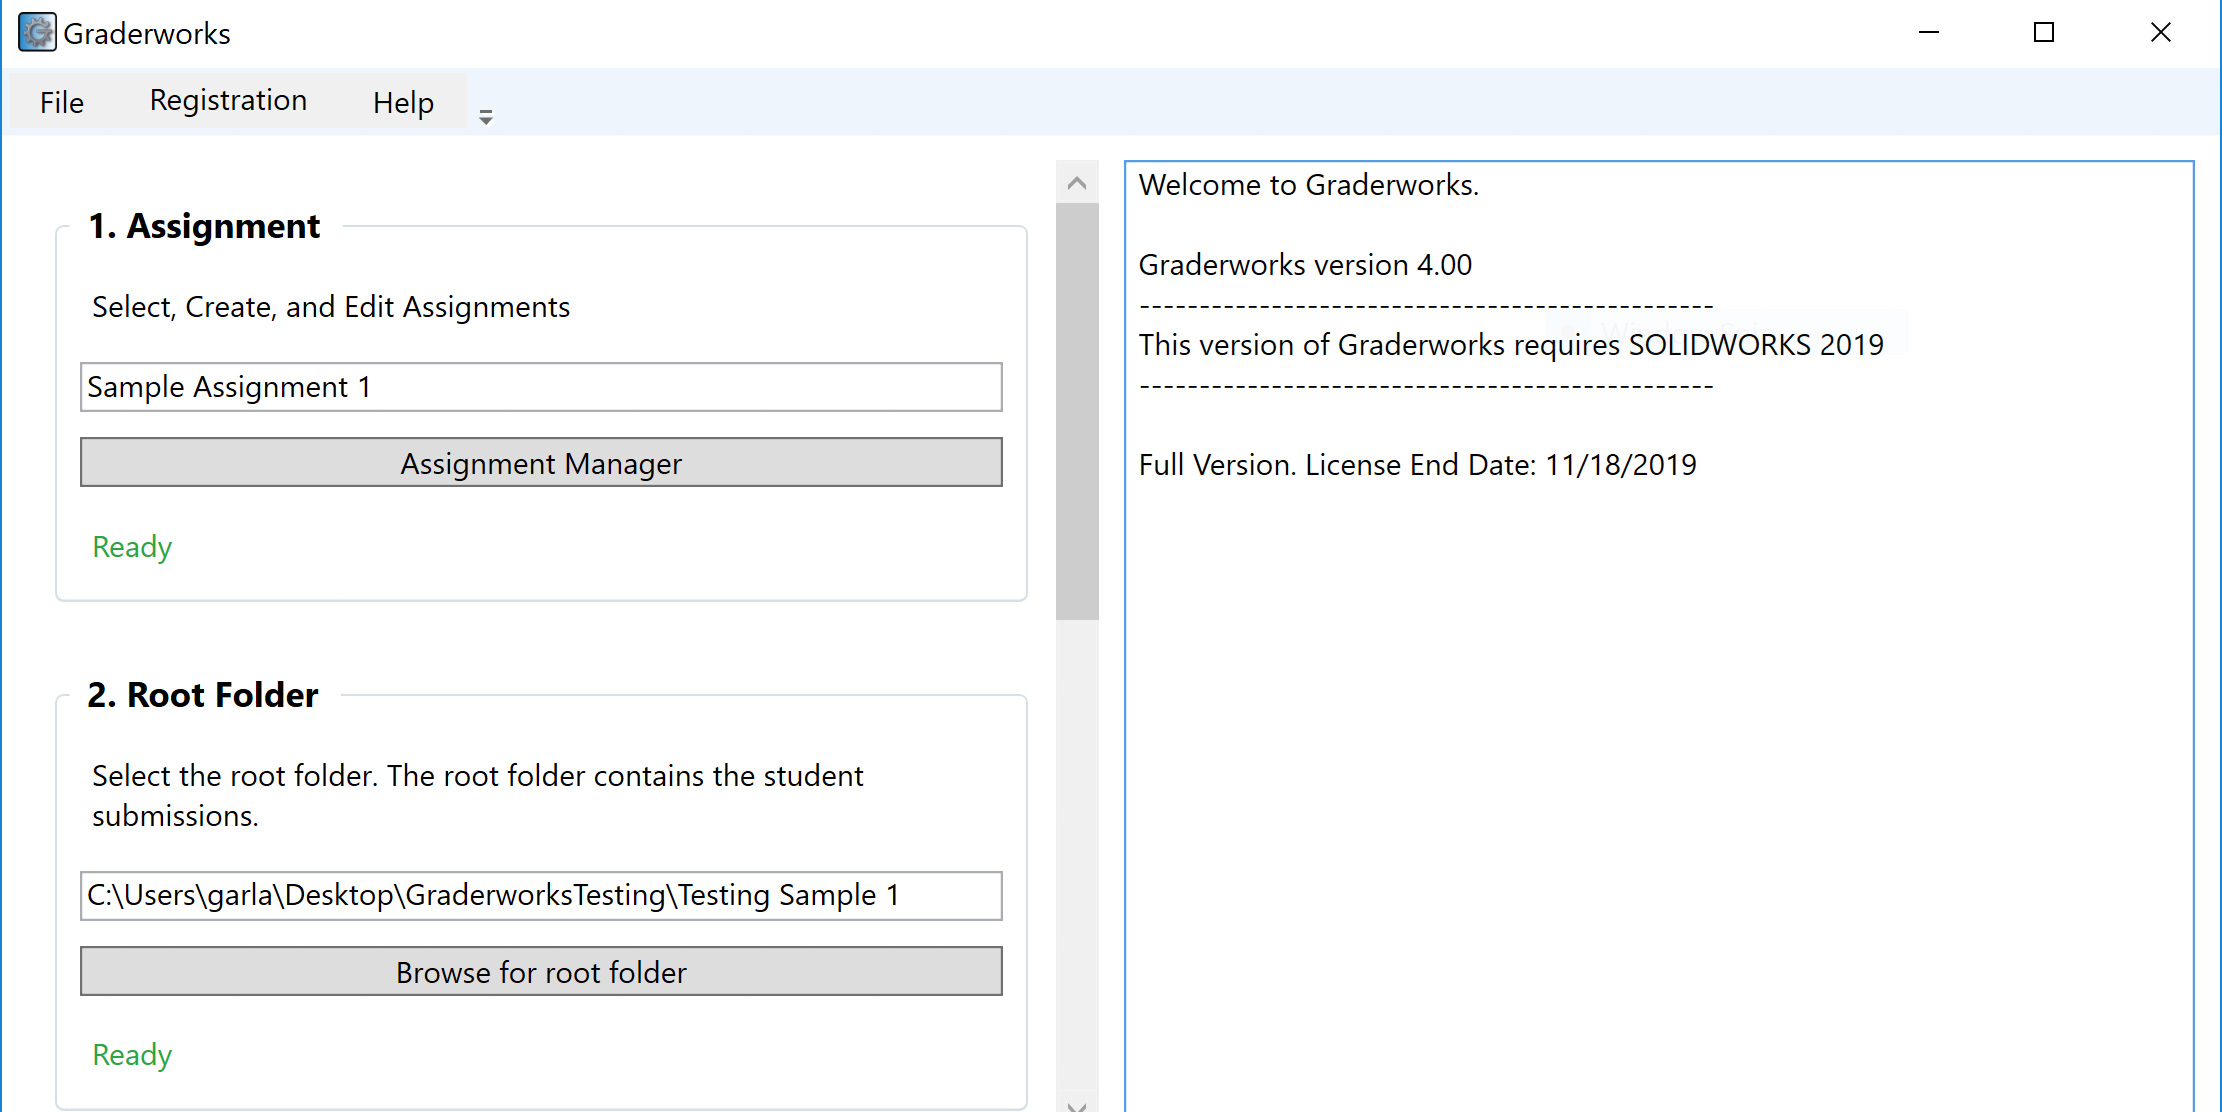
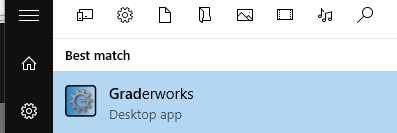
Once installed, go to your start menu->applications->Graderworks, or, you can access Graderworks by clicking on the desktop icon.
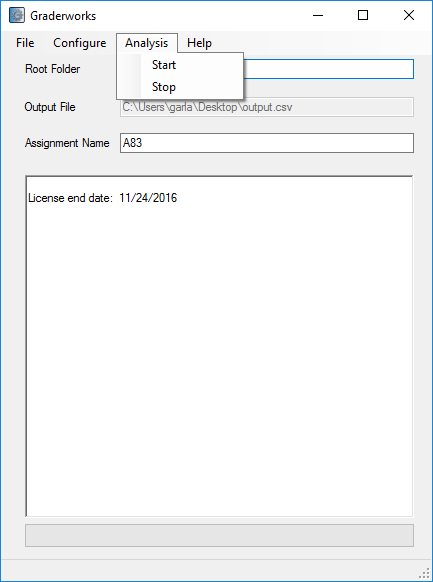
- Once the application starts, it shows the main window. The main window shows you the progress of the program as it analyzes files.
Get Files and Standardize Format
- In this 'Getting Started' page we will use the example in the 'Examples' page. You can download the zip folder containing the SOLIDWORKS files here. Unzip the files into a folder on your computer. In this example, the absolute path to the unzipped folder is 'C:\Users\garla\Downloads\sldworksparts\sldworksparts'. The file name of each file has already been standardized.
Configure Graderworks
- Next, you need to specify the absolute path to the root directory containing the file or folders that you need to be graded.To do this, paste into the 'Root Folder' text box the path to the folder containing the SOLIDWORKS files. Alternatively, you can click File->'Select Root Dir' to select the root folder.
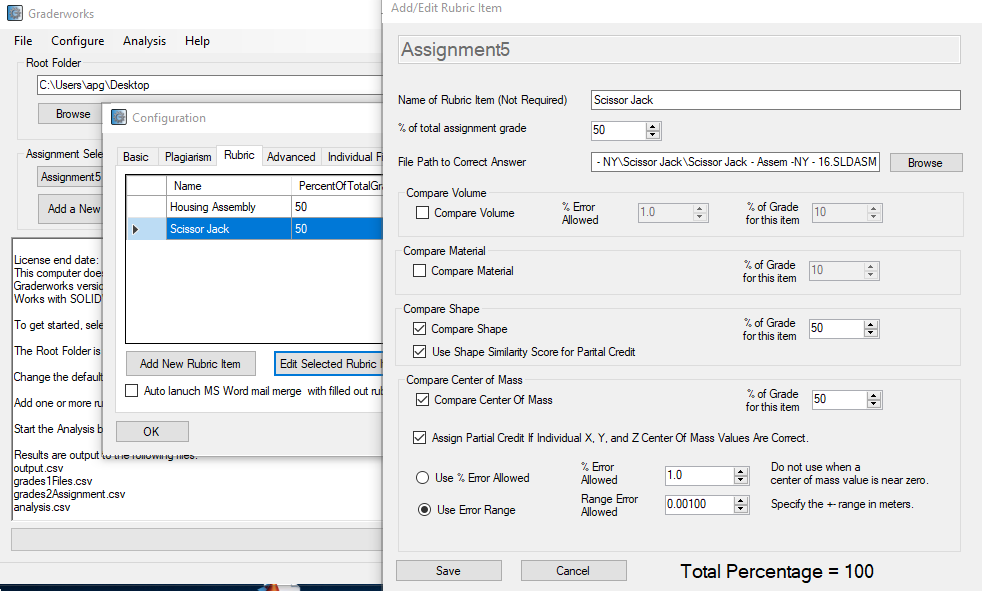
- To configure Graderworks so that it knows what types of files to analyze, how to extract the username, and which files represent the correct answer, click on the Configure menu option. This click brings up the configuration window. The configuration window has four tabs.

- Now you need to configure Graderworks.
- If you look at the files in the root folder, you will see the username of each file has an underscore before and after the username. In the configuration window, using an underscore to identify the username is the default option.
- Next, you need to select the type of assignment. The files to grade are all in the same folder, so in the 'Type of Assignment' drop-down box, you will select 'SOLIDWORKS files' which is the default option.
- In addition to selecting the kind of assignment, you can tell Graderworks to analyze parts, assemblies, drawings, or any combination of the three by selecting the checkboxes in the 'SW File Types to Analyze' area. In this example, you will uncheck assemblies and drawings since you are only working with part files.
- When extracting information from the files, it is usually best to use the default system units (MKS) so that the extracted properties are all in the same unit system. If you selected 'Use Document Units', then if students submit parts in IPS, MMGS, or CGS the extracted properties will be in the corresponding unit system. Then the grading algorithm will need a method to detect the different unit systems which will add a new layer of complexity.
- Next, you can configure Graderworks to analyze the part's geometry with respect to the correct answer.
- In the configuration window click on the 'Comparison' tab.
- Check the box to enable geometric comparisons.
- Using Windows Explore, locate a file that is the 'correct' answer and then paste the absolute path into the configuration tab's text box. In Windows 10, if you select the file, then click on the 'copy path' button then the absolute path is conveniently copied to the clipboard automatically. In this example, use the a10_apg_part.SLDPRT file.
- Next, click 'ok' on the configuration window.

Run the Analysis
-
Now you are ready to start the actual analysis. Click on Analysis->Start. Graderworks starts by first opening the 'correct' answer file. Then it loops through the files in the root folder extracting information and comparing them to the correct answer.
Interpret the Results
-
The root folder should now contain two new files, output.csv and analysis.csv.
- Open the analysis.csv in your favorite spreadsheet application (like Microsoft Excel). The analysis.csv shows files that have been flagged by the plagiarism checker. These files do not necessarily represent plagiarism, but they do require further investigation. Four checks are performed on the files.
- Inconsistent “savedby” name. If one student submits several files and the last “savedby” name is not the same for all the files.
- Duplicate “savedby” name. If two different students submit files with the same “savedby” name, then the file may have been shared.
- Duplicate “creation date” for different users. It is unlikely (but not impossible) for two students to submit a file that was created on the same day, hour, minute, and second.
- Creation date is less than two standard deviations from the average. Files that are old may be from the internet or a previous semester.
-
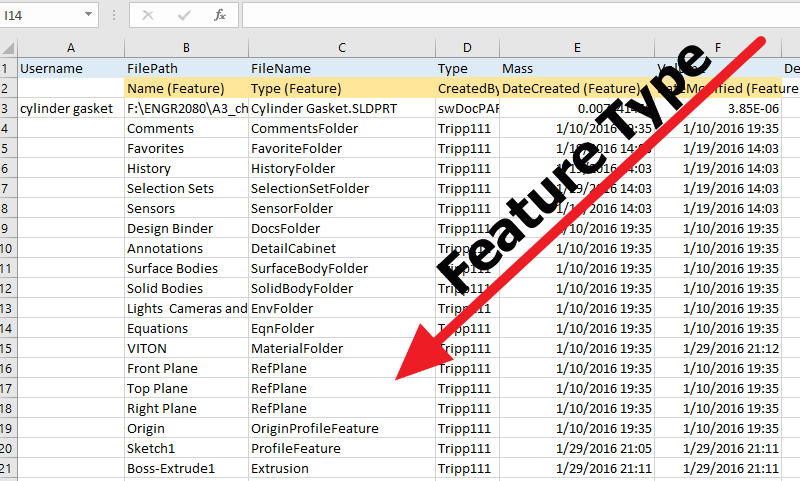
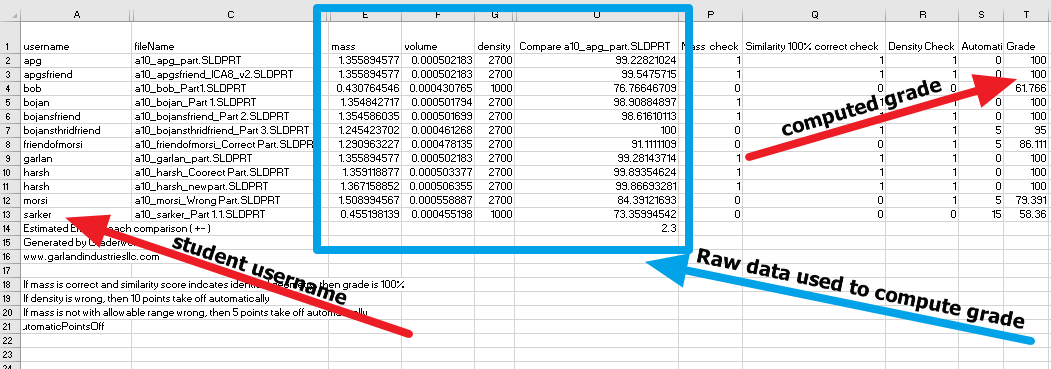
Open the output.csv file. This file shows the raw information about each SOLIDWORKS file. The units are MKS which are the system units. Converting the raw data into a grade is up to the instructor, but a sample method is shown in this example. The grading algorithm checks the mass, density, and geometry of every file. The algorithm has been programmed into an Excel macro. You can download the excel file with the macro here.
- Download and open the grades.xlsm. You may need to enable the macros. They are likely turned off for security reasons by default.
- Go back to the output.csv window, go to view->macros->run macro. Then run the 'prepare for grading' macro. This macro makes a new sheet within the Excel document called 'metadata' which lets you specify how the grading algorithm performs.
- Column A allows you to specify the percent error allowed for the mass of the part. Similar to how the CSWA is graded, the algorithm checks if the mass is correct.
- Column B should automatically be filled with the estimated error of the geometric similarity algorithm.
- Column C requires specifying the proper mass in kg.
- Column D requires the correct density in kg.m^3 This information is used for checking if the material is assigned correctly. Often students draw the part correctly, but forget to assign the material.
- Column E lets you specify how many points to take off for having the wrong material assigned (which is checked by looking at the density).
- Finally, Column F lets you specify how many points to take off if the mass is not 100% correct. This feature allows you to specify a maximum grade that a student can receive if they do not have the part 100% correct.
- Once you have inserted the information on the meta-data sheet, then you can run the grading macro. Go to View-Macros-Run Macro and then run the GradeAssignment macro. The macro computes a grade for each student
- Open the analysis.csv in your favorite spreadsheet application (like Microsoft Excel). The analysis.csv shows files that have been flagged by the plagiarism checker. These files do not necessarily represent plagiarism, but they do require further investigation. Four checks are performed on the files.

- The grades appear in the 'data' sheet. In this example, the grade is calculated using this algorithm.
- If mass is correct and similarity score indicates identical geometry, then grade is 100%
- If material (and therefore the density) is wrong, then 10 points take off automatically.
- If the mass is not with allowable range wrong, then 5 points are taken off automatically.
- If the mass is not correct or similarity score indicates geometric differences, then Grade = SimilarityScore - AutomaticPointsOff
Conclusion
- This 'Getting Started' tutorial shows a method for using Graderworks to compute a grade for a simple homework assignment that might be given in a SOLIDWORKS class. The steps for setting up Graderworks can vary based on your particular situation but follow three major steps.
- Preprocessing.
- Gathering files
- Standardizing file names and formats
- Run Graderworks
- Configuring Graderworks
- Running Graderworks and monitoring the progress
- Interpret the results
- Convert raw data to a Grade
- Check for plagiarism
- Preprocessing.
- If you have questions or need help, please contact us at help@garlandindustriesllc.com.
Join our free mailing list!
Graderworks
- Grade student's SOLIDWORKS files quickly
- Catch Plagiarism
- Export SOLIDWORKS files to another format in bulk
Recent Articles
Evaluation of Humans and Software for Grading in an Engineering 3D CAD Course
Anthony Garland and Sarah Grigg published a paper showing the effectiveness of a
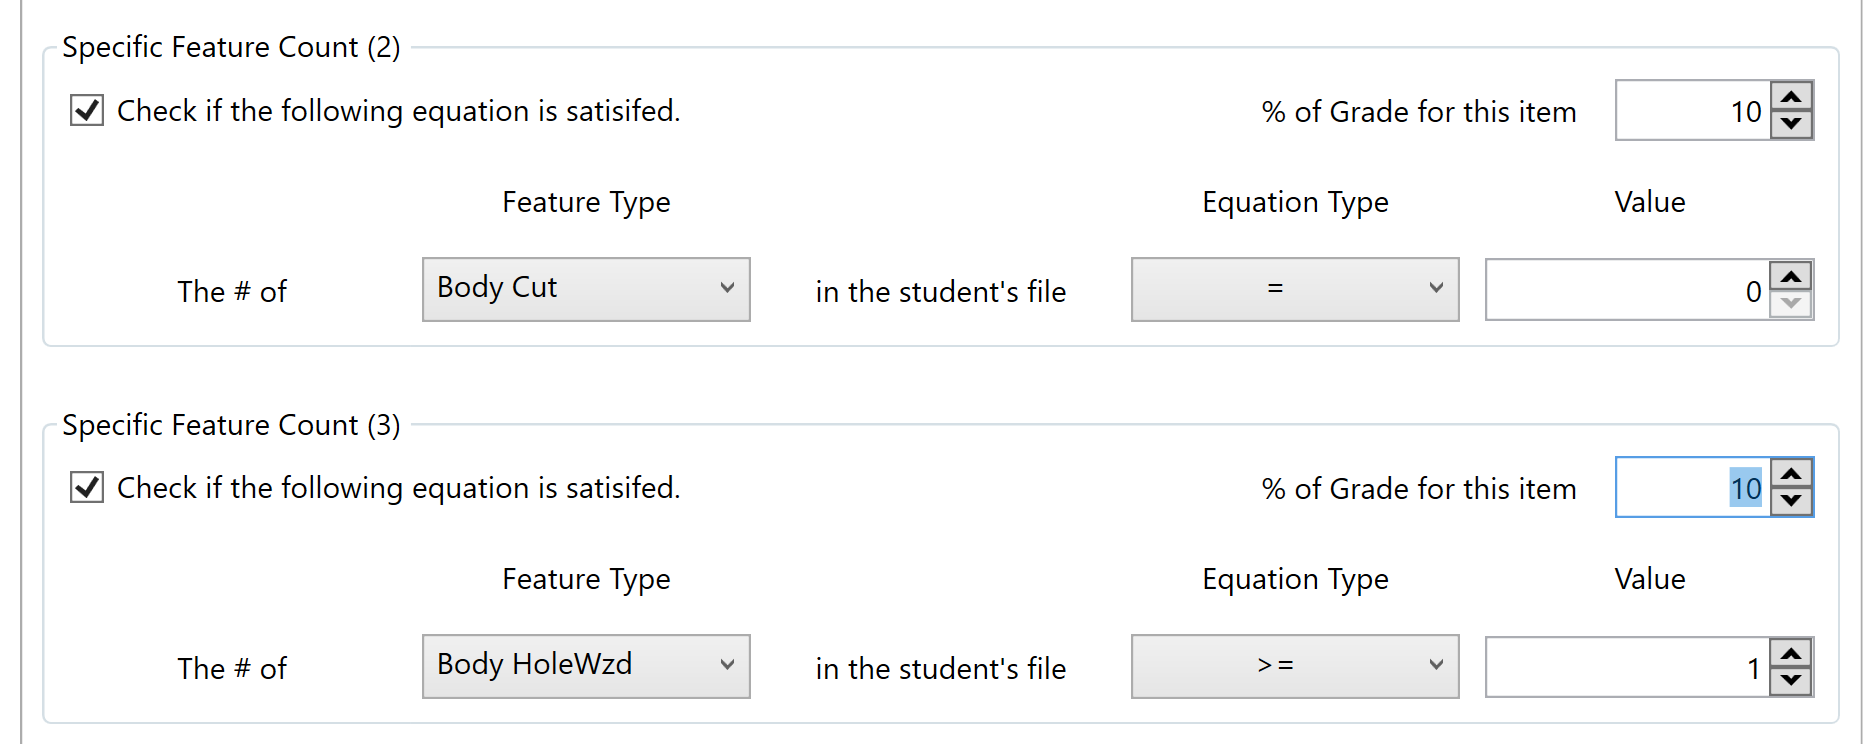
New Grading Items in GW 4.07 - 4.30
Gradeworks can help you automated SOLIDWORKS grading. New grading items include:
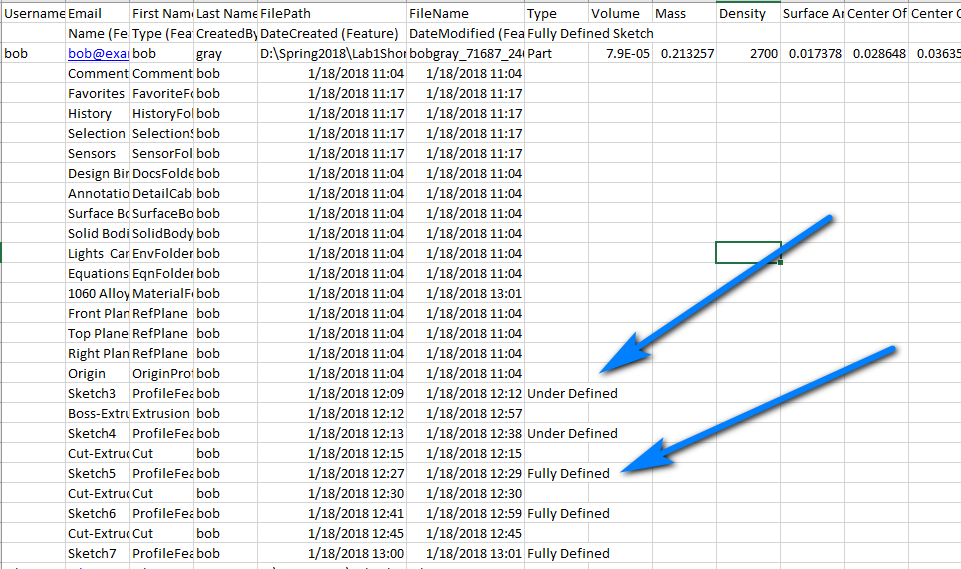
Graderworks 3.10 Check for Fully Defined Sketches
What's new in Graderworks 3.10? Increased data collection speed. Check for fully
Graderworks: SW 2017, Config files, Command line args
Graderworks 2.36 and higher is compatible with SOLIDWORKS 2017. Graderworks now
Graderworks: An Official SOLIDWORKS Solution Partner
Garland Industries is happy to announce that Graderworks is now an official SOL
Graderworks 2.32 Release
Graderworks 2.32 represents continued incremental improvement in the overall qua
Design Automation Example
A design automation example is given showing topology optimization coupled with
Graderworks 2.3 Release
Graderworks 2.3 allows you to compare the geometric similarity of .stl files wit
Turnitin vs. Graderworks
Graderworks is the Turnitin of 3D models. Not using a plagiarism checker in a So
Getting Started with Graderworks
This tutorial shows how to get started analyzing and grading Solidworks part fil
The Making of Graderworks Video
As an engineering entrepreneur, marketing is not my strength. To make high-quali
Organizing hundreds of .stl files for 3D printing
How would you 3D print hundreds of .stl files in the shortest time possible usin
What is unique about 3D printing?
3D Printing offers many new exciting possibilities, but why is it unique? Three
How 3D printing works
3D Printing requires three steps. 1. Getting a 3D model. 2. Slicing the model to
Preprocessing files for Graderworks: Converting .rar to .zip
Solidworks students submit .rar files instead of .zip. Graderworks requires .zip
Windows Smart Screen and Code Signing
A short tutorial on how to sign a Windows installer and what the smart screen fi
What should we 3D print?
3D Printing opens the possibility of mass customization of consumer products. Ma
Software, dying on the journey from academic project to commercial tool.
Does software make it from academic research to useful commercial tools? Ignoran


