Grading SOLIDWORKS Part Files
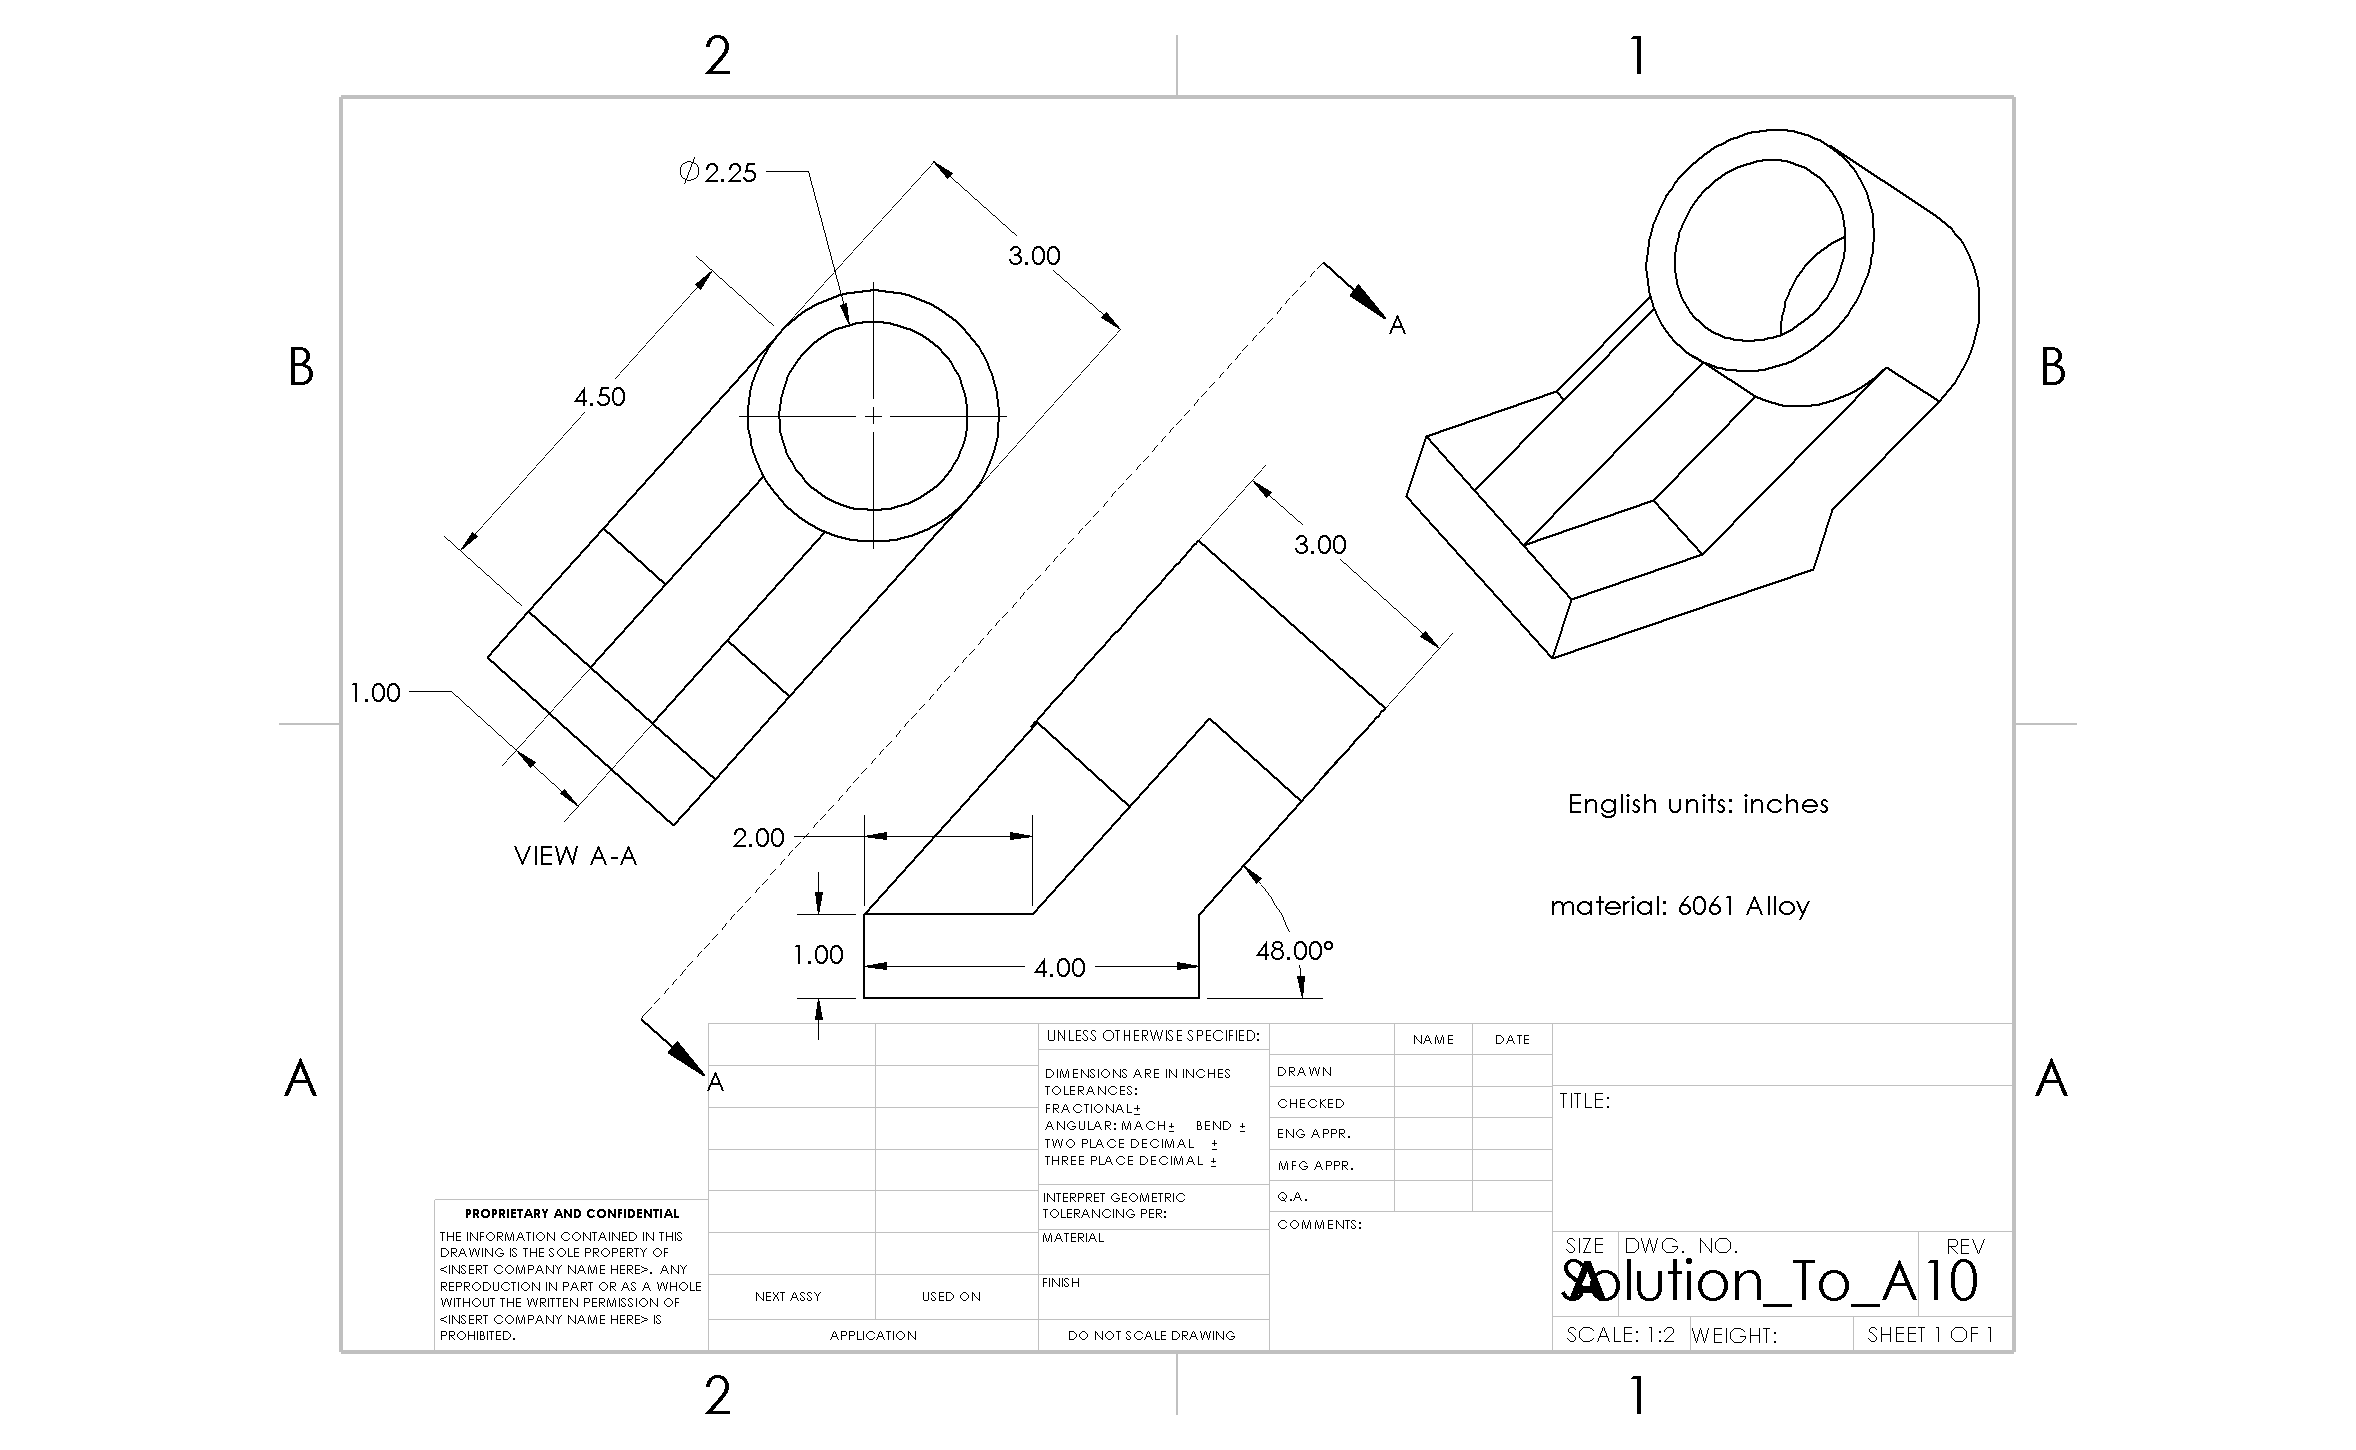
This example uses Graderworks to grade student's .sldprt files.
This tutorial is for version 4.xx of Graderworks. Previous versions of Graderworks are slightly different.
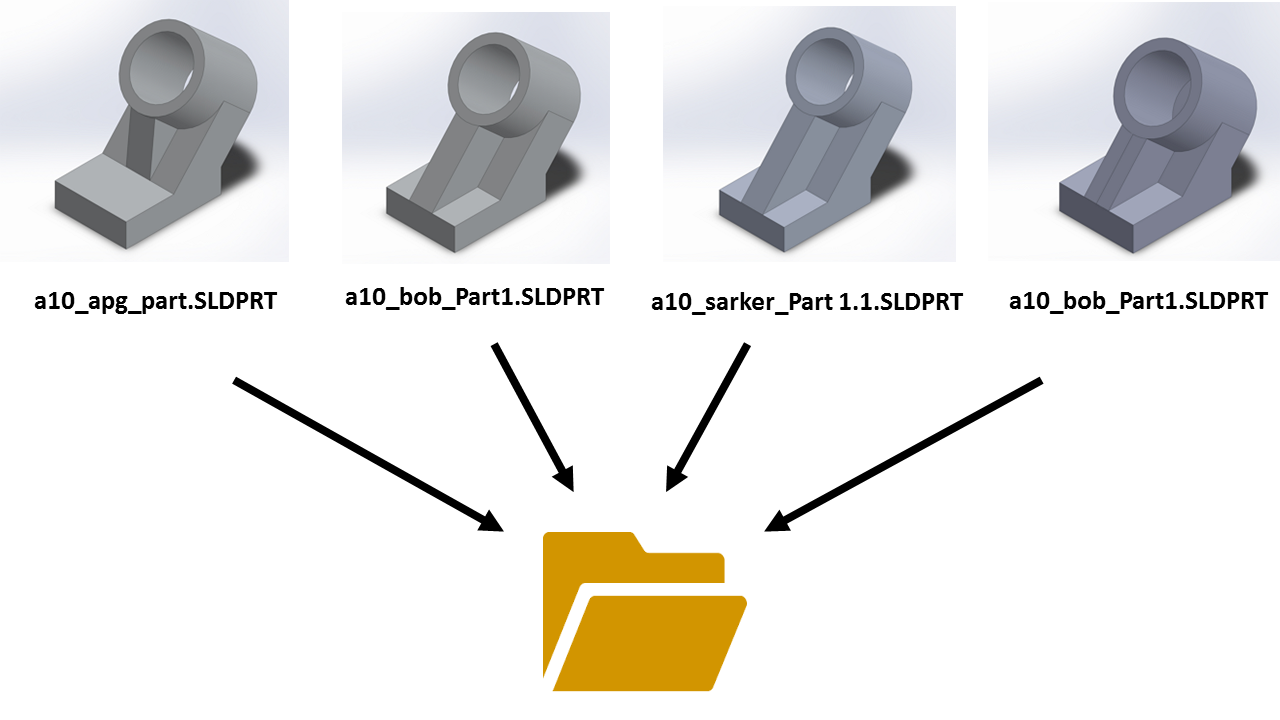
2. Gather student's files
After the students finish the assignment, you put all of the files into a single folder. The file name of each SOLIDWORKS part file should be consistent so that Graderworks can extract the student's username from the file name.
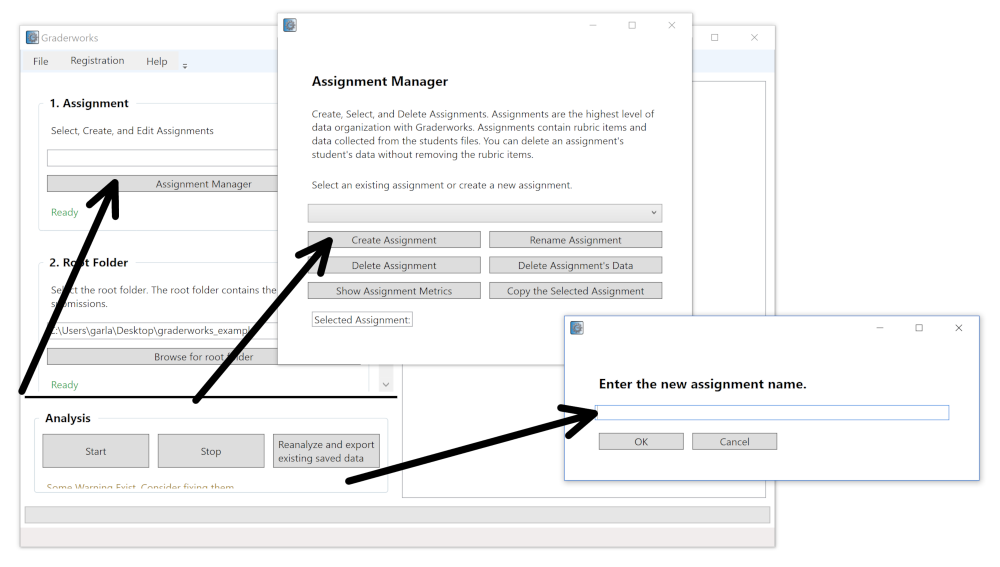
3. Create a new assignment.
Click "Add a new Assignment" to create a new assignment. You could also select a previous assignment in the assignment dropdown to add more data to the assignment or re-export the existing data.
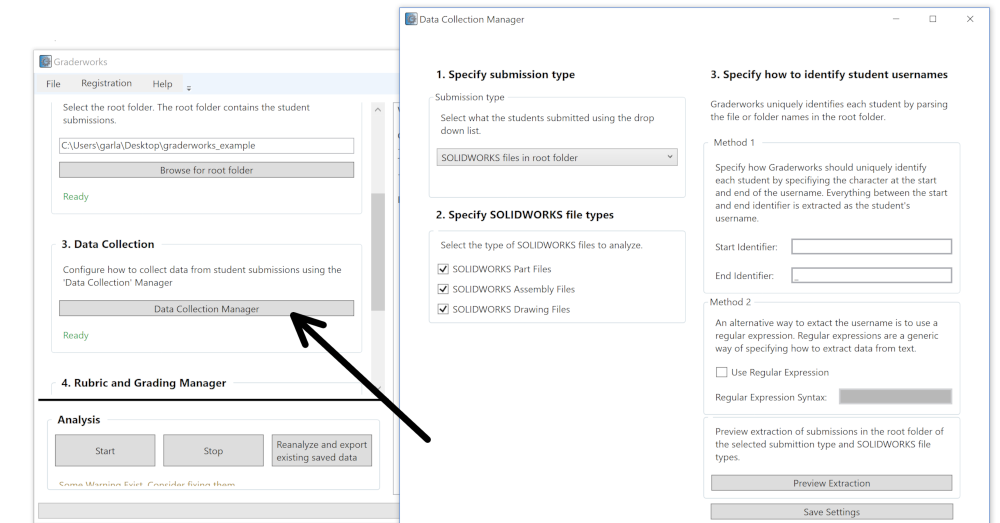
5. Configure how to collect data
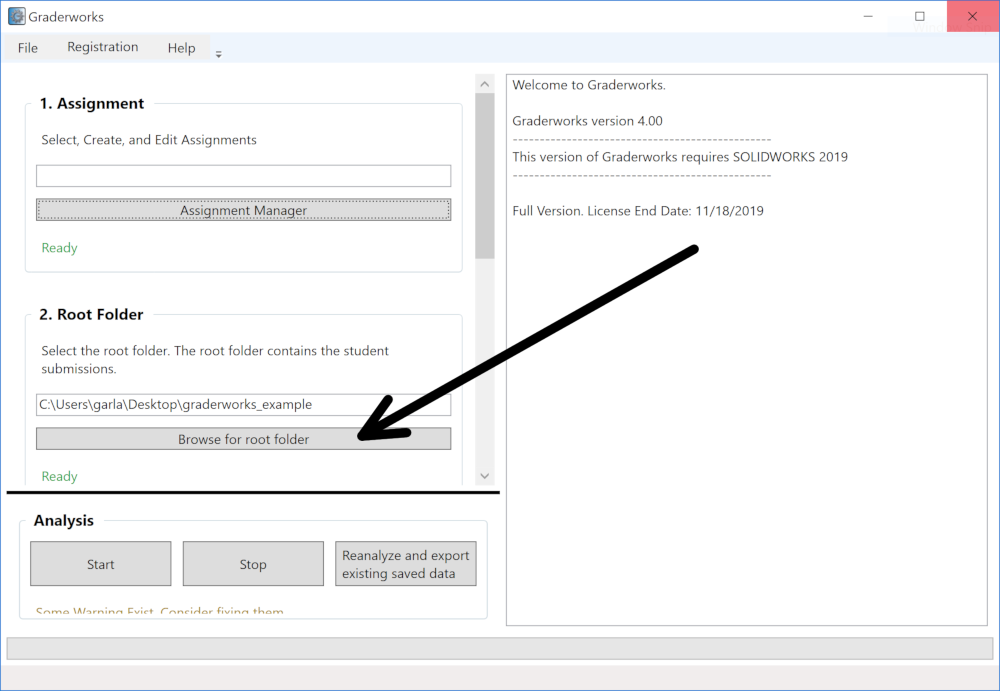
Configure Graderworks by telling what types of files to grade, and how to extract the username from the filename.
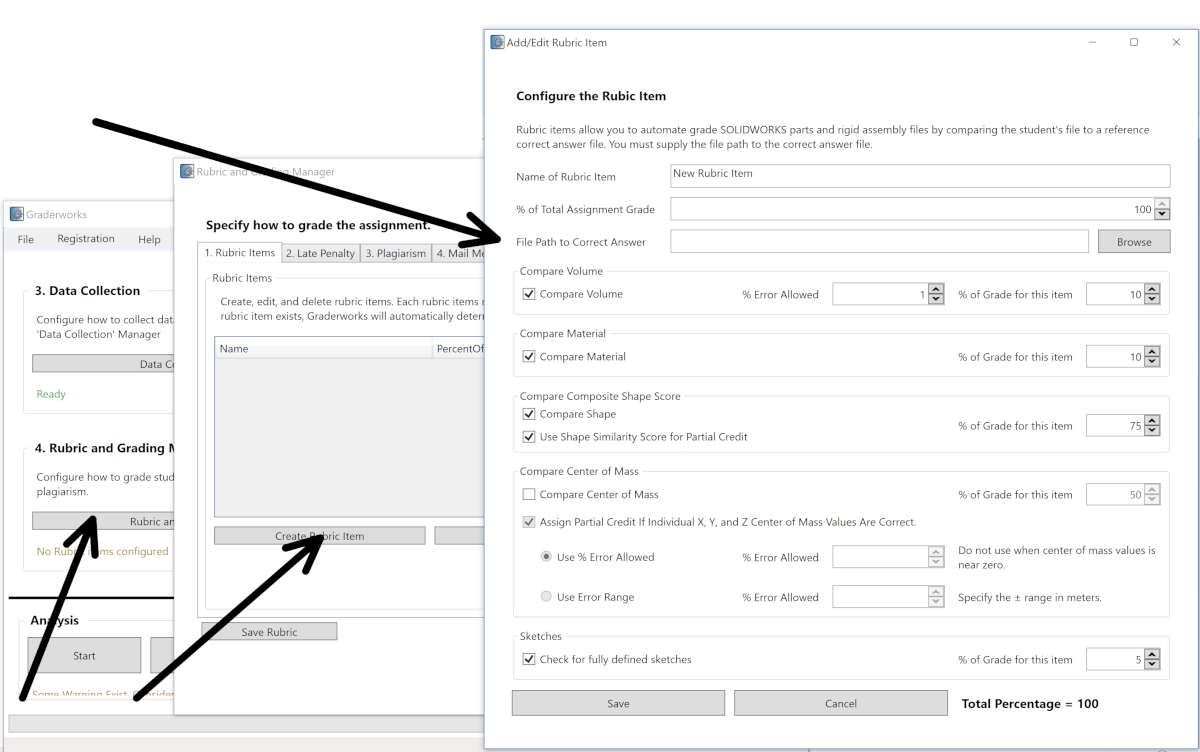
5. Setup Rubric Items.
In the configuration window, click the rubric tab. Then, click "Add New Rubric Item." Next, set up the rubric item and include the file path to the correct answer file. Finally, in the rubric tab, click the checkbox to automatically launch the mail merge of filled out rubrics when Graderworks finishes analyzing all the files.
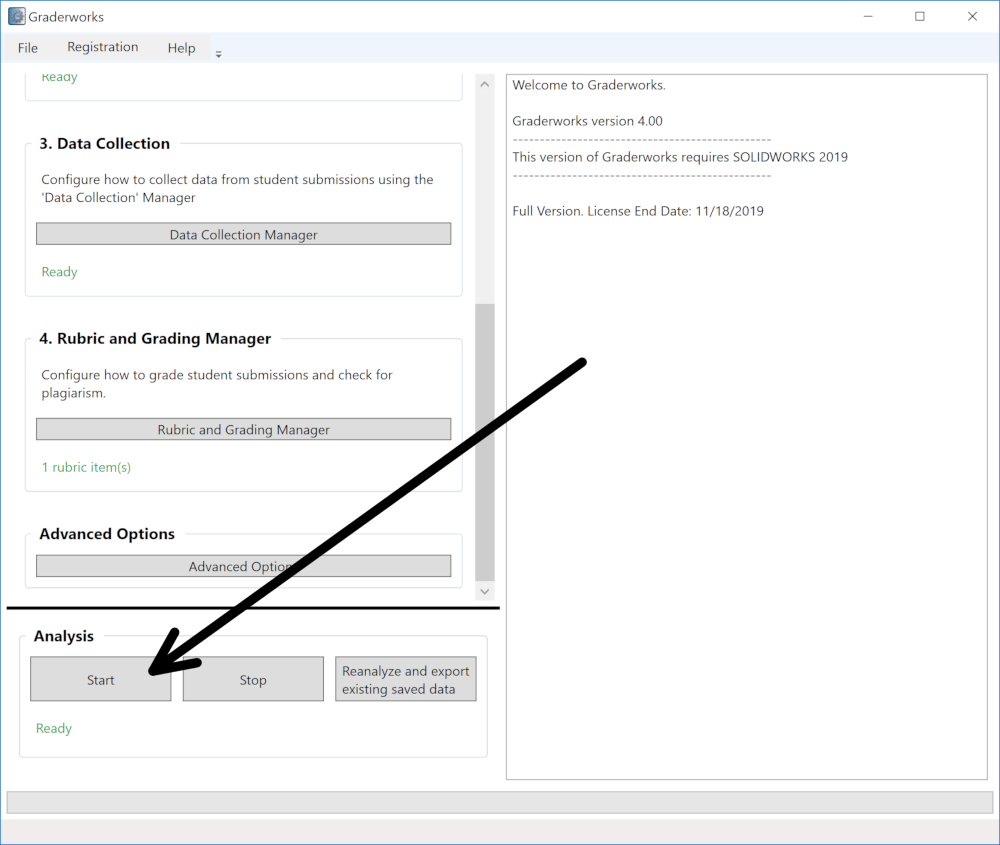
6. Start the Analysis and Monitor Progress
Graderworks will begin by pre-analyzing the correct answer file; then, it will loop over all the SOLIDWORKS files extracting information and comparing them to the correct answer. A progress bar at the bottom will show you the percentage of files that have been finished and estimated time of completion.
7. View Results
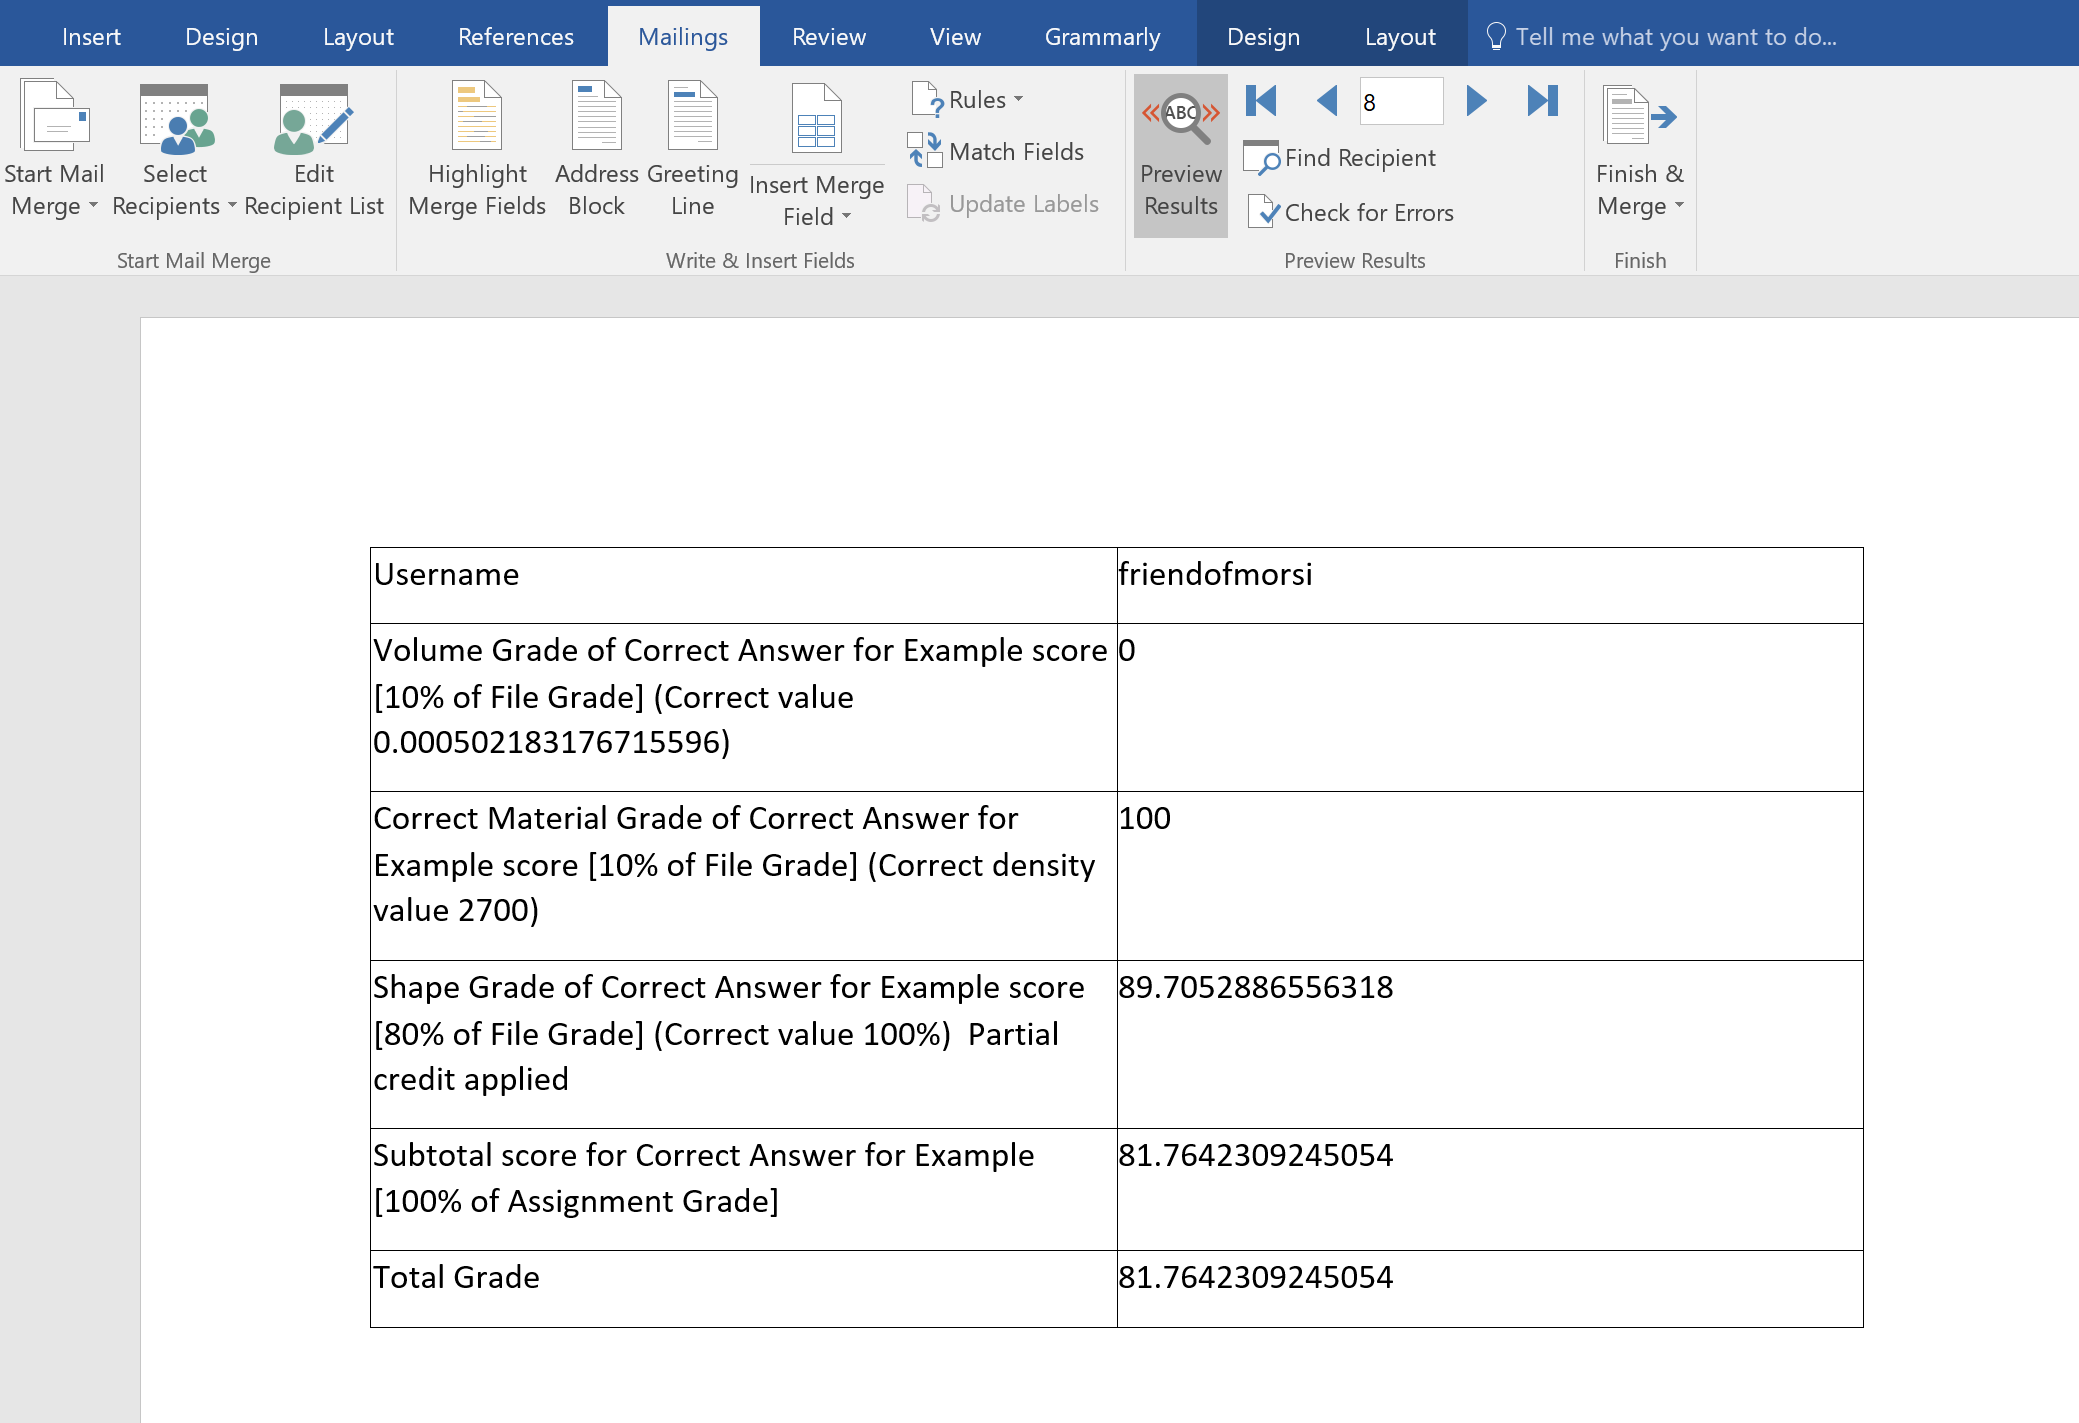
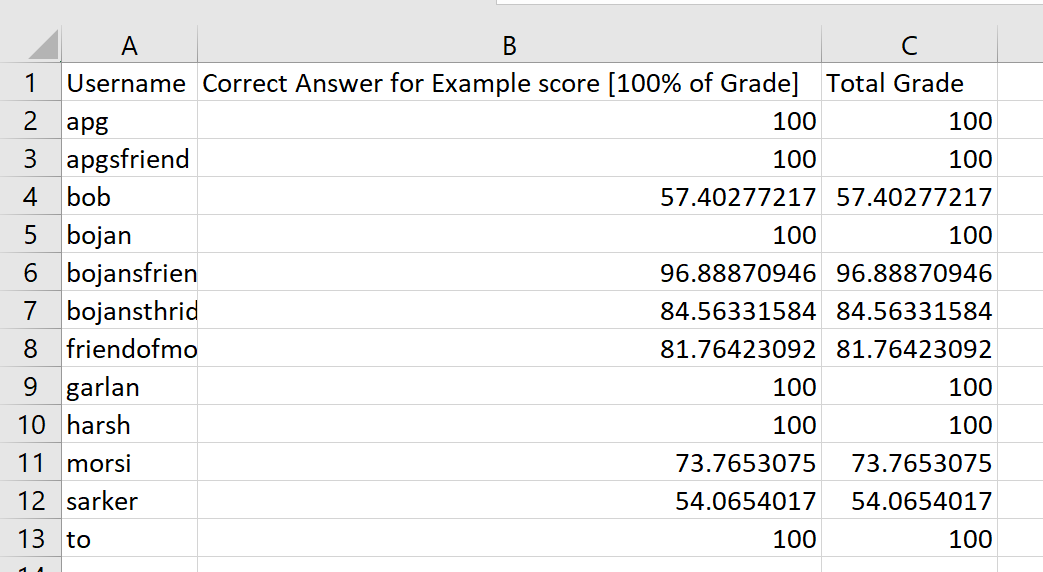
Graderworks creates an Excel document with all the grading information, and Graderworks will automatically create a Microsoft Word mail merge document with the filled out rubric for each student.
8. Check for Plagiarism.
When Graderworks is finished, it will export an Excel file. The last sheet of the Excel file will contain information about plagiarism. This sheet will contain files that need to be examined more carefully to determine if a student plagiarized. Open the file.
- The files highlighted in green were flagged because two different students turned in files with the same LastSavedBy name.
- The files highlighted in orange were flagged because two different students turned in files with the same creation date-time. Likely, one student shared his file with his friend.
- The files highlighted in blue were flagged because the creation date indicates the files were made a long time ago when compared to the files everyone else turned in. If a student downloads files from the internet or gets files from a friend who previously took the class, then the creation date will likely be much older than everyone else's' files.
- If you suspect plagiarism, we recommend that you compare the feature information of the two files. In the "raw data" sheet of the Excel file, find the two files of interest and compare the feature authors and creation dates.
Sign up for our free mailing list!
Need More Details?
Read a detailed "Getting Started" tutorial by clicking here.
Watch a video demonstration of this example by clicking here.
